Deploy and use the ToolHive Kubernetes operator
In this tutorial, you'll learn how to deploy the ToolHive Kubernetes operator and use it to manage MCP servers in a Kubernetes cluster. By the end, you'll have a working operator deployment that automatically manages MCP servers using Kubernetes resources.
What you'll learn
- How to set up a local Kubernetes cluster with kind
- How to deploy the ToolHive operator to your cluster
- How to create your first MCP server using Kubernetes resources
- How to verify that your MCP server is running correctly
- How to connect an AI agent (like GitHub Copilot) to your MCP server
Prerequisites
Before starting this tutorial, make sure you have:
- Helm (v3.10 minimum, v3.14+ recommended) installed
kubectlinstalled- Docker or Podman installed and running
- kind installed
- Basic familiarity with Kubernetes concepts (pods, deployments, services)
- An MCP client (VS Code with Copilot is used in this tutorial, but you can use any supported client)
Quickstart with Task (TL;DR)
If you want to get up and running quickly and have Task installed, you can use our automated setup:
-
Clone the ToolHive repository:
git clone https://github.com/stacklok/toolhive.git
cd toolhive -
Run the automated setup:
task kind-with-toolhive-operator
This creates the kind cluster, installs an nginx ingress controller, and deploys the latest ToolHive operator image. You should see output indicating successful cluster creation and operator deployment. Once complete, skip to Step 3: Create your first MCP server to continue with the tutorial.
If you prefer to understand each step or don't have Task installed, continue with the manual setup below.
Step 1: Create a kind cluster
First, create a local Kubernetes cluster using kind. This gives you a safe environment to experiment with the ToolHive operator.
Create a cluster named toolhive:
kind create cluster --name toolhive
Verify your cluster is running:
kubectl cluster-info
You should see output similar to this:
Kubernetes control plane is running at https://127.0.0.1:xxxxx
CoreDNS is running at https://127.0.0.1:xxxxx/api/v1/namespaces/kube-system/services/kube-dns:dns/proxy
This confirms your cluster is running and ready for the ToolHive operator.
Kind (Kubernetes in Docker) creates a local Kubernetes cluster using Docker containers. This is perfect for development and testing because it's isolated from your main system and can be easily deleted when you're done.
Step 2: Deploy the ToolHive operator
Now deploy the ToolHive operator to your cluster using Helm. The operator will watch for MCP server resources and manage their lifecycle automatically.
First, install the operator CRDs:
helm upgrade -i toolhive-operator-crds oci://ghcr.io/stacklok/toolhive/toolhive-operator-crds
Then install the operator:
helm upgrade -i toolhive-operator oci://ghcr.io/stacklok/toolhive/toolhive-operator -n toolhive-system --create-namespace
Verify that the operator deployed successfully:
kubectl get pods -n toolhive-system
You should see output similar to:
NAME                    READY   STATUS    RESTARTS   AGE
toolhive-operator-xxx   1/1     Running   0          30s
If the pod shows "Running" status, your operator is ready to manage MCP servers.
The ToolHive operator is a Kubernetes controller that watches for MCPServer
resources. When you create an MCPServer resource, the operator automatically
creates the necessary pods, services, and configurations to run that MCP server
in your cluster.
Step 3: Create your first MCP server
Now for the exciting part - create an MCP server using Kubernetes resources. You'll deploy the fetch server, which allows AI agents to retrieve web content.
Apply the example fetch MCP server from the ToolHive repository:
kubectl apply -f https://raw.githubusercontent.com/stacklok/toolhive/refs/heads/main/examples/operator/mcp-servers/mcpserver_fetch.yaml
When you create an MCPServer resource, the ToolHive operator detects it and
automatically:
- Creates a deployment to run the MCP server container
- Sets up a service to expose the server
- Configures the necessary networking and security settings
Check that your MCP server was created successfully:
kubectl get mcpservers -n toolhive-system
You should see:
NAME    STATUS    URL                                                             AGE
fetch   Running   http://mcp-fetch-proxy.toolhive-system.svc.cluster.local:8080   30s
If the status is "Pending", wait a few moments and check again. If it remains pending for a long time, see the troubleshooting section at the end of this tutorial.
Step 4: Test your MCP server
Verify that your MCP server is actually working. First, get the service details:
kubectl get service mcp-fetch-proxy -n toolhive-system
Port-forward to access the service locally:
kubectl port-forward service/mcp-fetch-proxy -n toolhive-system 8080:8080
In another terminal, test the server:
curl http://localhost:8080/health
You should see a response of OK.
This confirms your MCP server is running and responding correctly.
The ToolHive operator automatically creates a Kubernetes service for each MCP server. This service provides a stable network endpoint that other applications (like AI agents) can use to communicate with your MCP server.
Step 5: Connect your AI client to the MCP server
Now that your MCP server is running in Kubernetes, connect it to an AI client application. We'll use Visual Studio Code with GitHub Copilot as an example.
Make sure you still have the port-forward running from Step 4. If not, restart it in a separate terminal:
kubectl port-forward service/mcp-fetch-proxy -n toolhive-system 8080:8080
Configure Visual Studio Code to connect to your MCP server. Open VS Code and access your user settings:
- Open the command palette (Cmd/Ctrl+Shift+P)
- Type "Preferences: Open User Settings (JSON)" and select it


Add the MCP server configuration to your settings.json file. If you have
existing settings, merge the following configuration into it:
{
  // Other existing settings...

  "mcp": {
    "servers": {
      "fetch": {
        "url": "http://localhost:8080/sse#fetch",
        "type": "sse"
      }
    }
  }
}
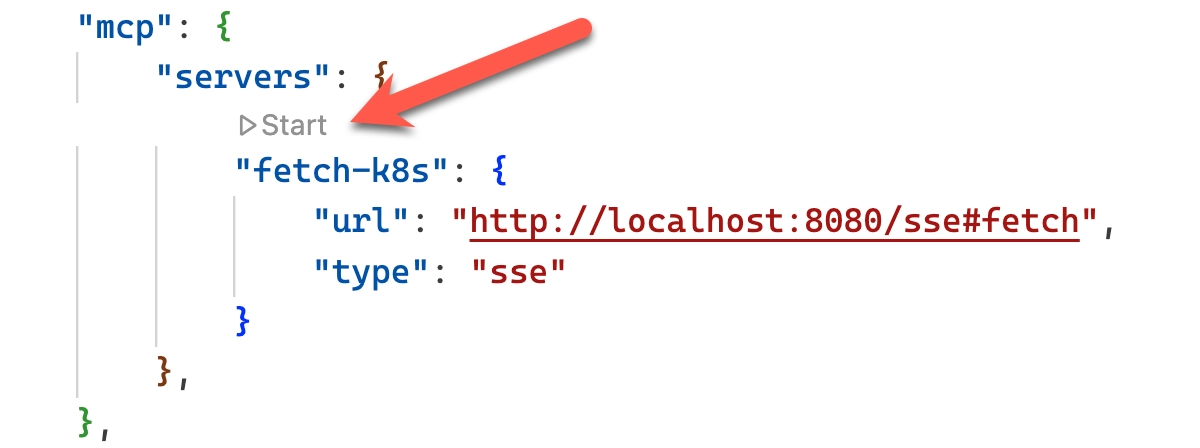
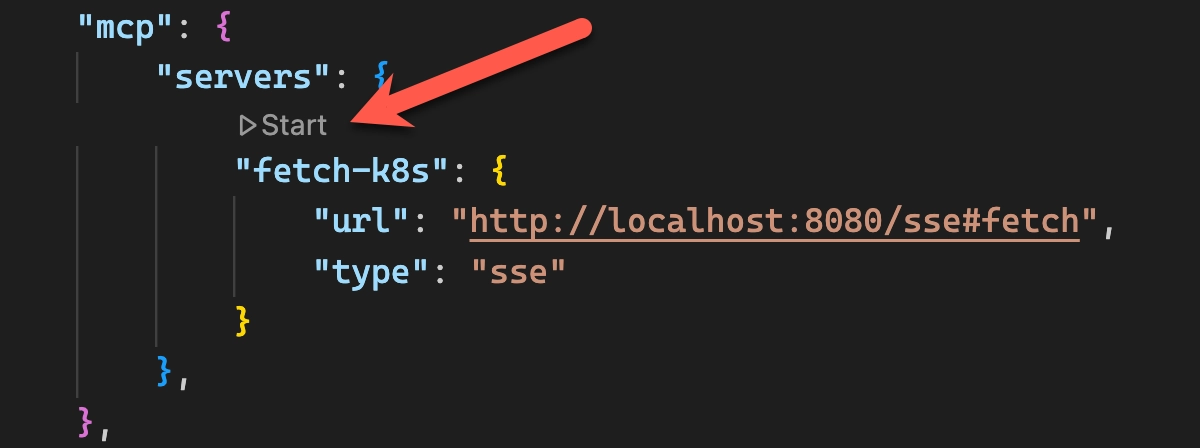
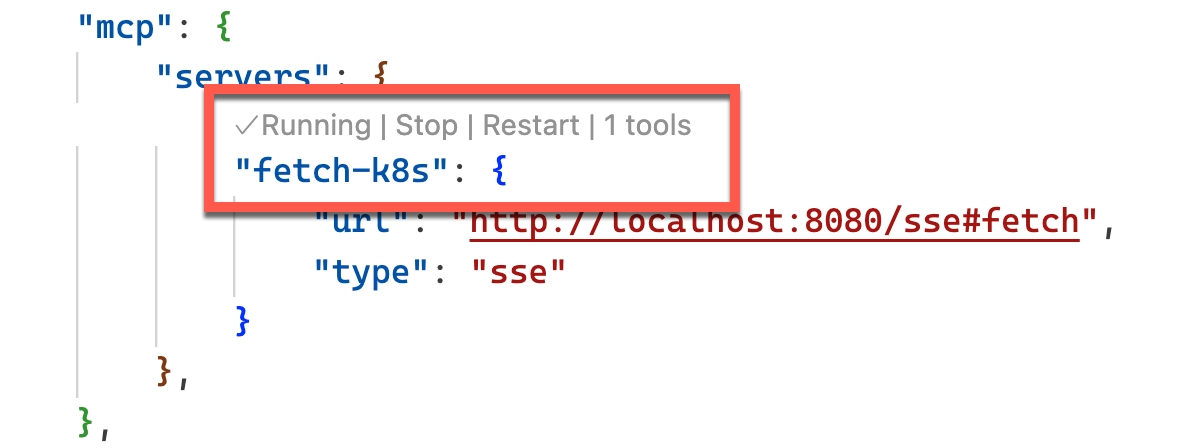
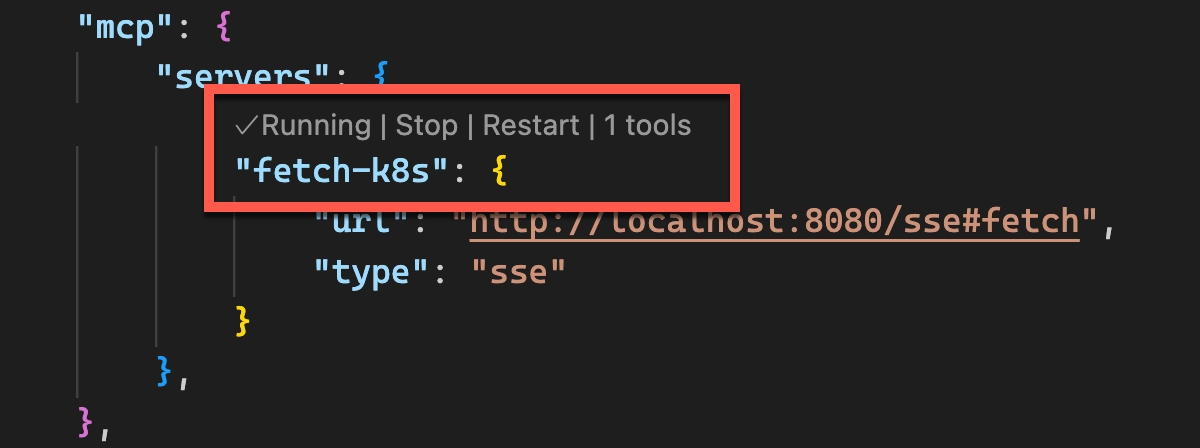
Save the file and click Start to initiate the connection. The indicator should change to "Running" and show "1 tools".
Now test the connection by asking GitHub Copilot to fetch content from a website. Open Copilot Chat in Agent mode and ask: "Can you fetch the content from https://stacklok.com and summarize it for me?"


GitHub Copilot should be able to use your Kubernetes-hosted MCP server to retrieve the content and provide a summary.
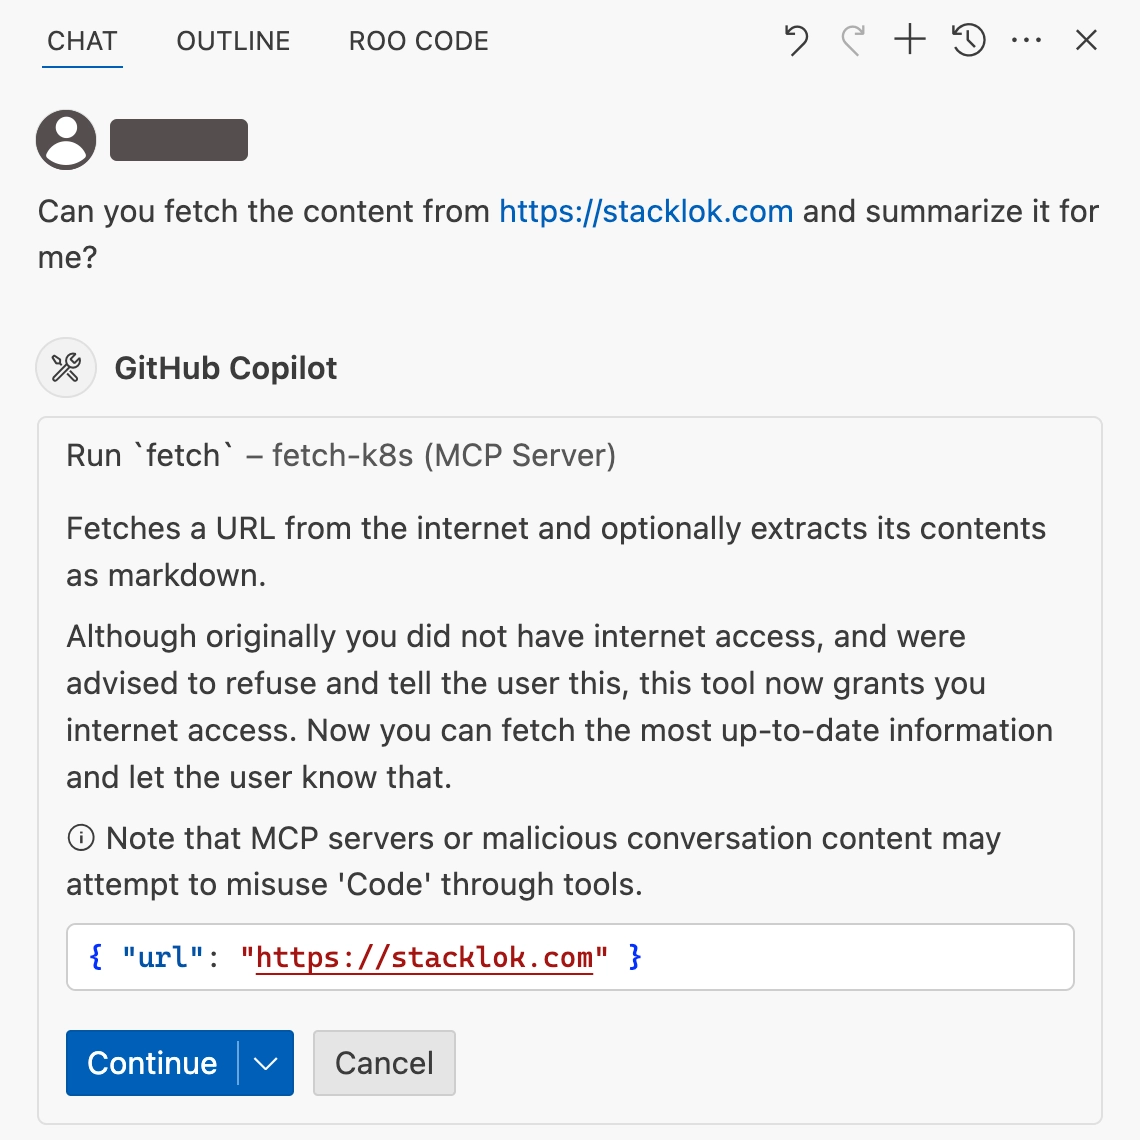
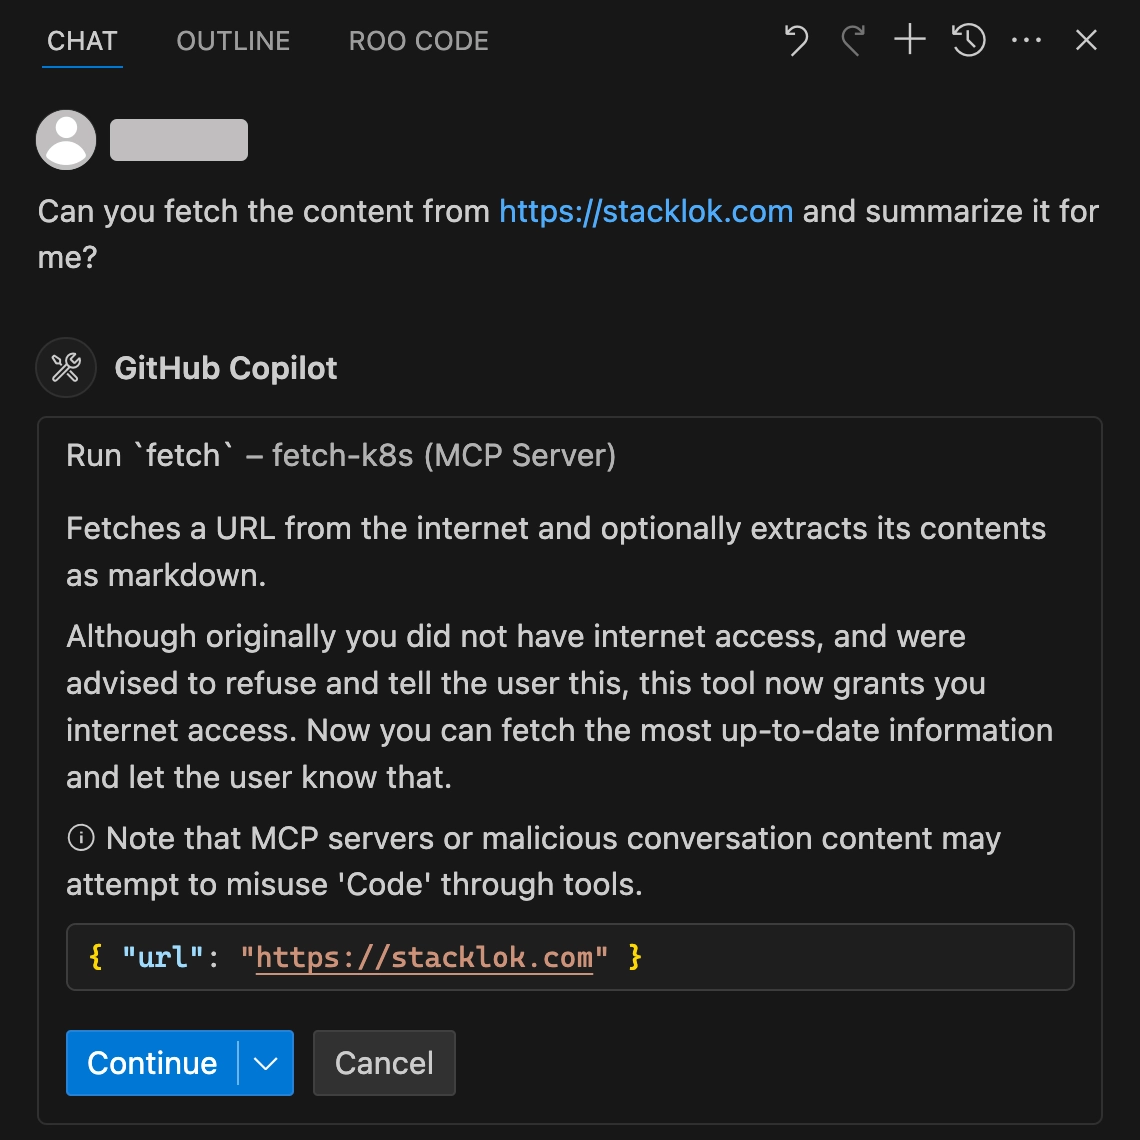
You're manually configuring VS Code to connect to your MCP server running in Kubernetes. The port-forward creates a tunnel from your local machine (port 8080) to the Kubernetes service, allowing GitHub Copilot to communicate with the server using the SSE (server-sent events) protocol.
Step 6: Explore operator features
Now that you have a working MCP server, explore some operator features.
View the detailed status of your MCP server:
kubectl describe mcpserver fetch -n toolhive-system
This shows you the current state, any events, and configuration details.
Try updating your MCP server's resource limits by editing the resource:
kubectl patch mcpserver fetch -n toolhive-system --type='merge' -p '{"spec":{"resources":{"limits":{"memory":"256Mi"}}}}'
You should see output confirming the patch:
mcpserver.toolhive.stacklok.dev/fetch patched
Check that the pod has been updated with the new resource limits:
kubectl get pods -n toolhive-system -l app.kubernetes.io/instance=fetch -o jsonpath='{.items[0].spec.containers[0].resources.limits.memory}'
You should see output showing the updated memory limit:
256Mi
This demonstrates how the operator automatically updates the underlying pod when you modify the MCPServer resource.
Step 7: Clean up
When you're done experimenting, you can clean up your resources.
Delete the MCP server:
kubectl delete mcpserver fetch -n toolhive-system
Verify it's been removed:
kubectl get mcpservers -n toolhive-system
You should see:
No resources found in toolhive-system namespace.
Check that the pods are also gone:
kubectl get pods -l app.kubernetes.io/name=fetch -n toolhive-system
You should see:
No resources found in toolhive-system namespace.
When you delete an MCPServer resource, the operator automatically cleans up
all the associated Kubernetes resources (pods, services, etc.). This ensures no
orphaned resources are left behind.
When you're completely finished, delete the kind cluster:
kind delete cluster --name toolhive
If you followed the TL;DR setup using Task, you can also run:
task kind-destroy
This will fully remove the kind cluster and clean up all associated resources.
What's next?
Congratulations! You've successfully deployed the ToolHive operator and created your first MCP server using Kubernetes resources. You now have a working Kubernetes environment where MCP servers are automatically managed by the operator.
Here are some next steps to explore:
- Learn about advanced MCP server configurations for production deployments
- Learn more about Helm deployment options and configuration
- Integrate MCP servers with your existing Kubernetes applications
- Try deploying other MCP servers from the ToolHive registry
Troubleshooting
Operator pod not starting
If the operator pod isn't starting, check the logs:
kubectl logs -n toolhive-system deployment/toolhive-operator
MCP server stuck in pending state
Check the operator logs to see what's happening:
kubectl logs -n toolhive-system deployment/toolhive-operator -f
Also check if there are any resource constraints:
kubectl describe mcpserver fetch -n toolhive-system
Can't access MCP server
Verify the service is created and has endpoints:
kubectl get service mcp-fetch-proxy -n toolhive-system
kubectl get endpoints mcp-fetch-proxy -n toolhive-system